To delete the data from app after removing the app from facebook follow these steps:
Step 1: Go to Facebook Settings
- Open Facebook and click on your profile icon or the menu.
- Go to "Settings & privacy" and open "Settings".
Facebook App setting
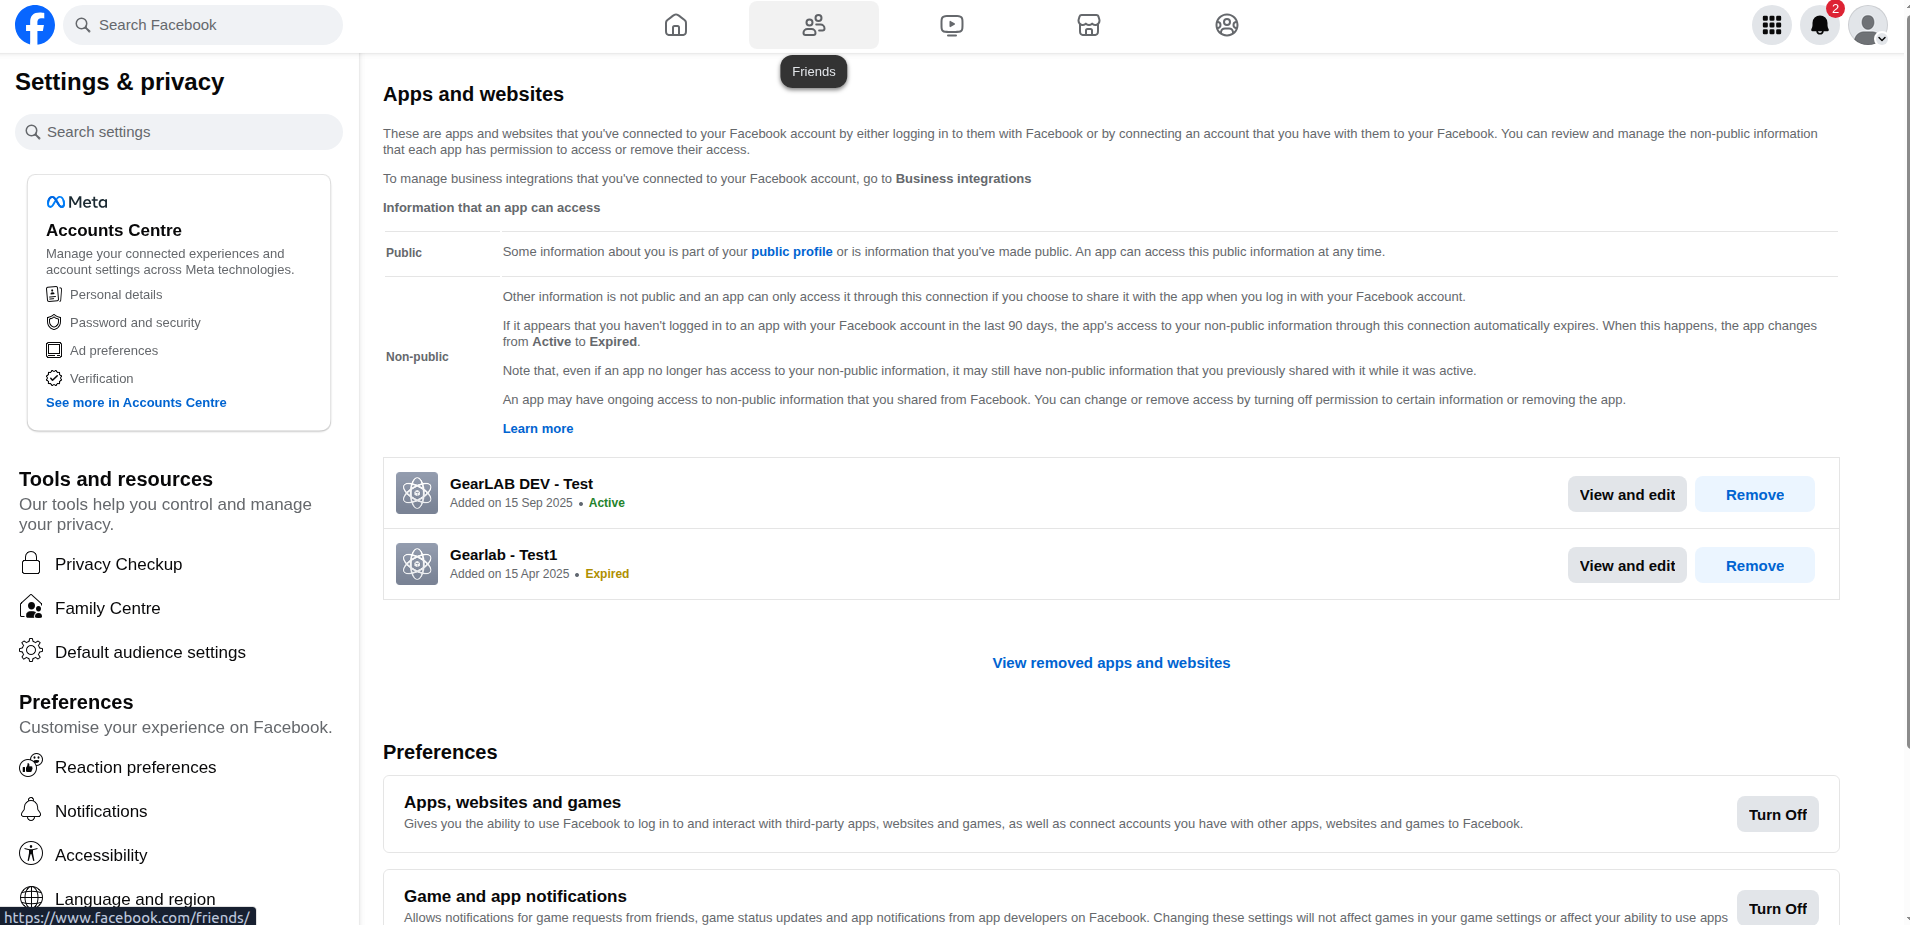
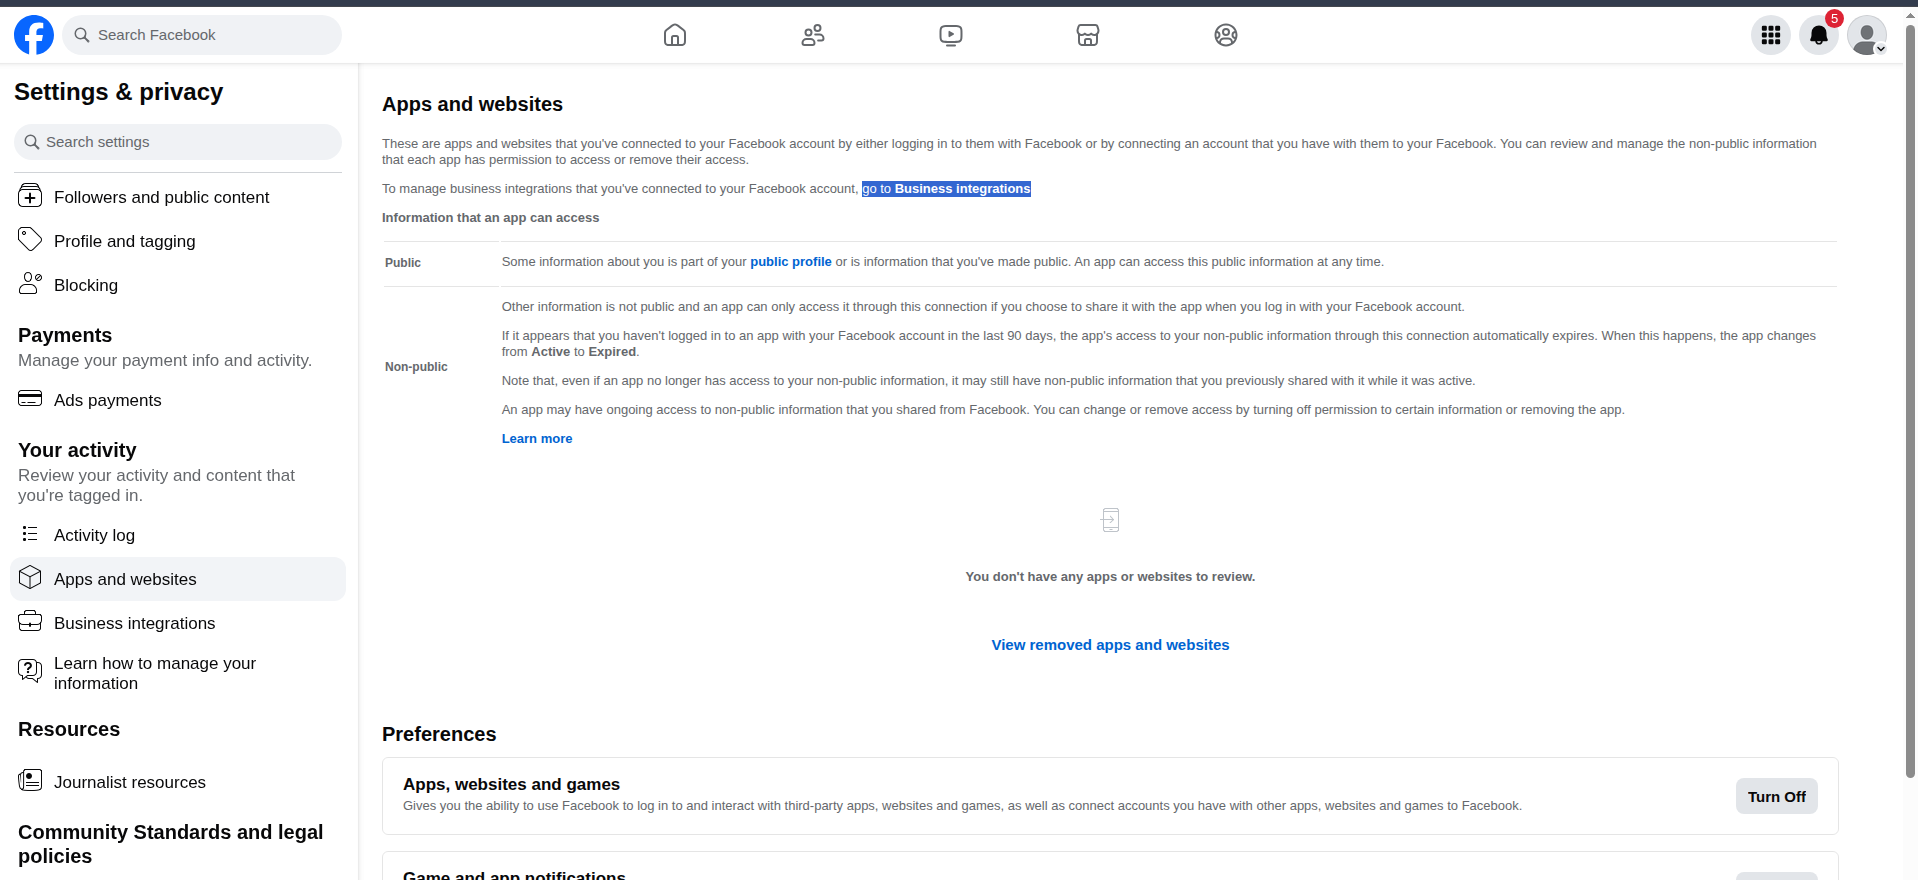
Step 2: Access Apps and Websites
- In the left panel, select "Apps and websites."
- Here you'll see a go to Business integrations option on top click on it.
Business integration in FB
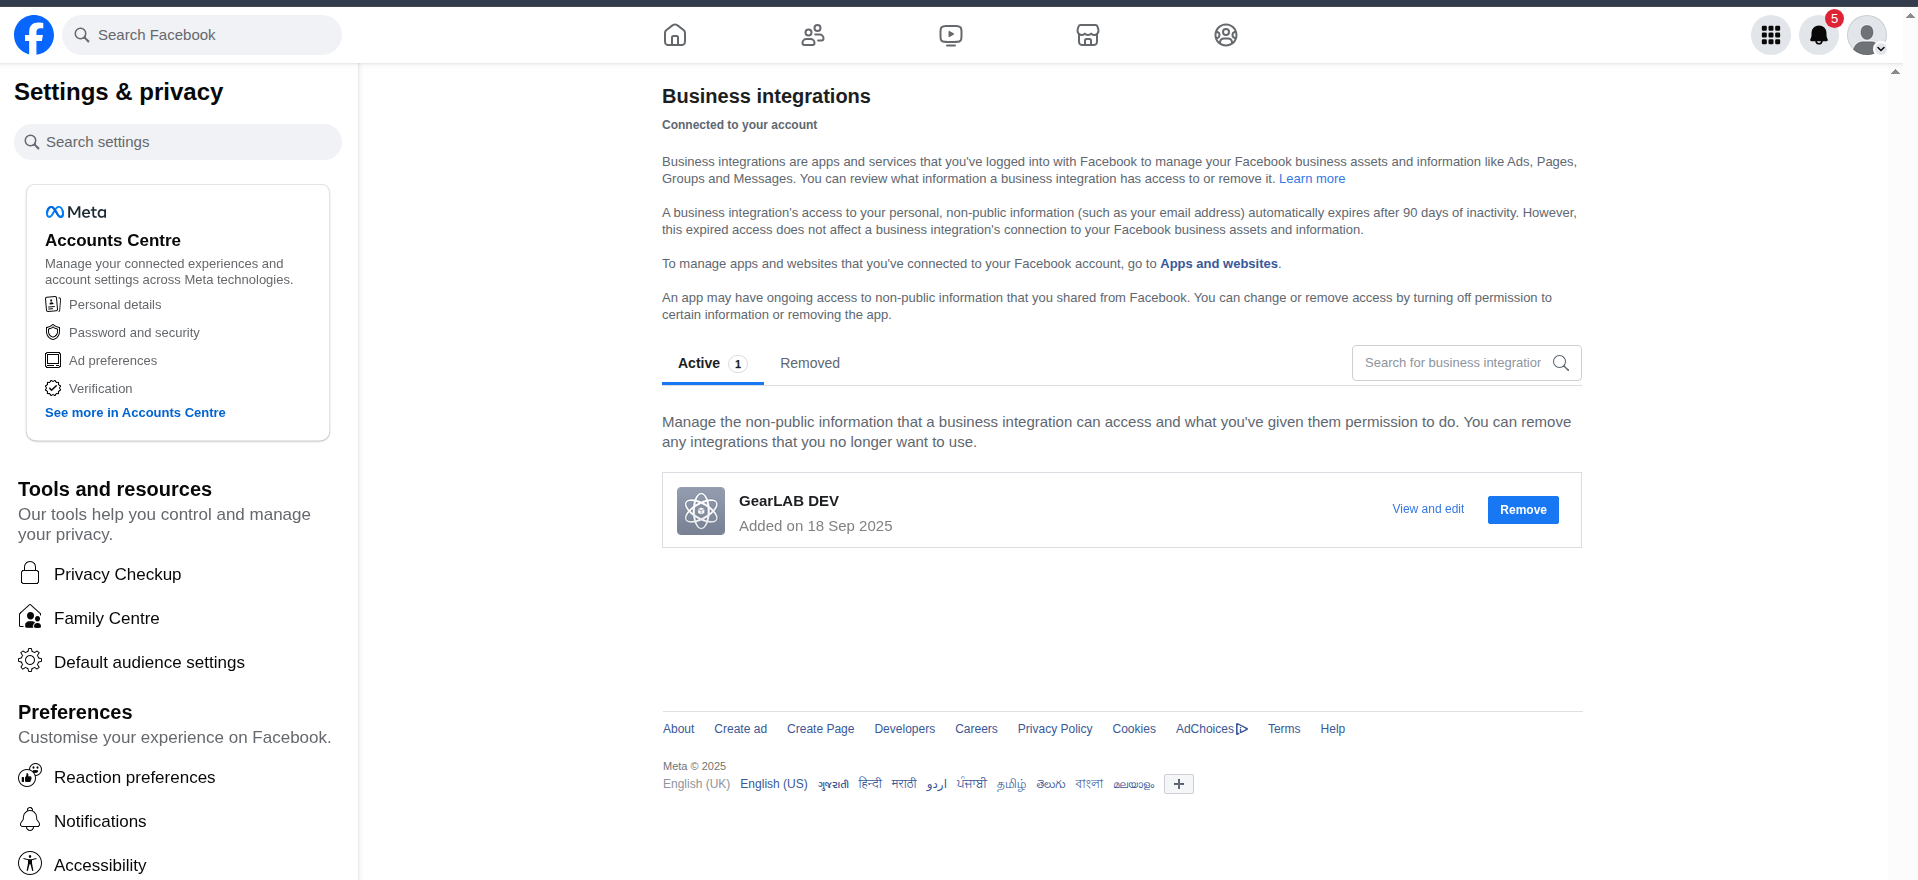
Step 3: Remove the App
- Find your app (e.g., "GearLAB DEV ") in the list.
- Click on the "Remove" button next to the app name.
App list in business integration in fb
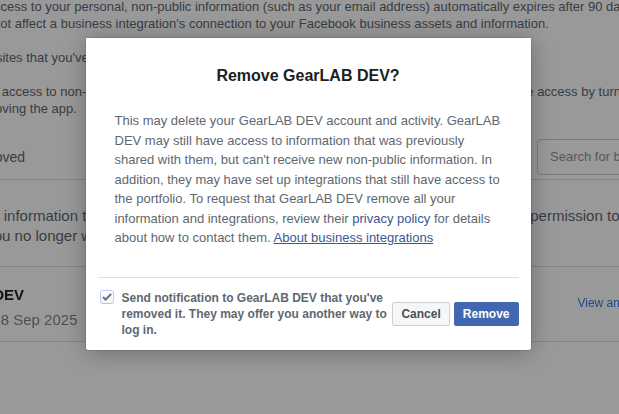
Step 4: Confirm App Removal
- A confirmation popup appears.
- Ensure the option to notify the app of the removal is checked.
- Click "Remove" to confirm the disconnection
App remove from business integration
Step 5: Switch to Removed Apps Section
- After removal, the app moves to the "Removed" tab.
- Switch to the "Removed" tab to verify the disconnection and initiate data deletion requests if required.
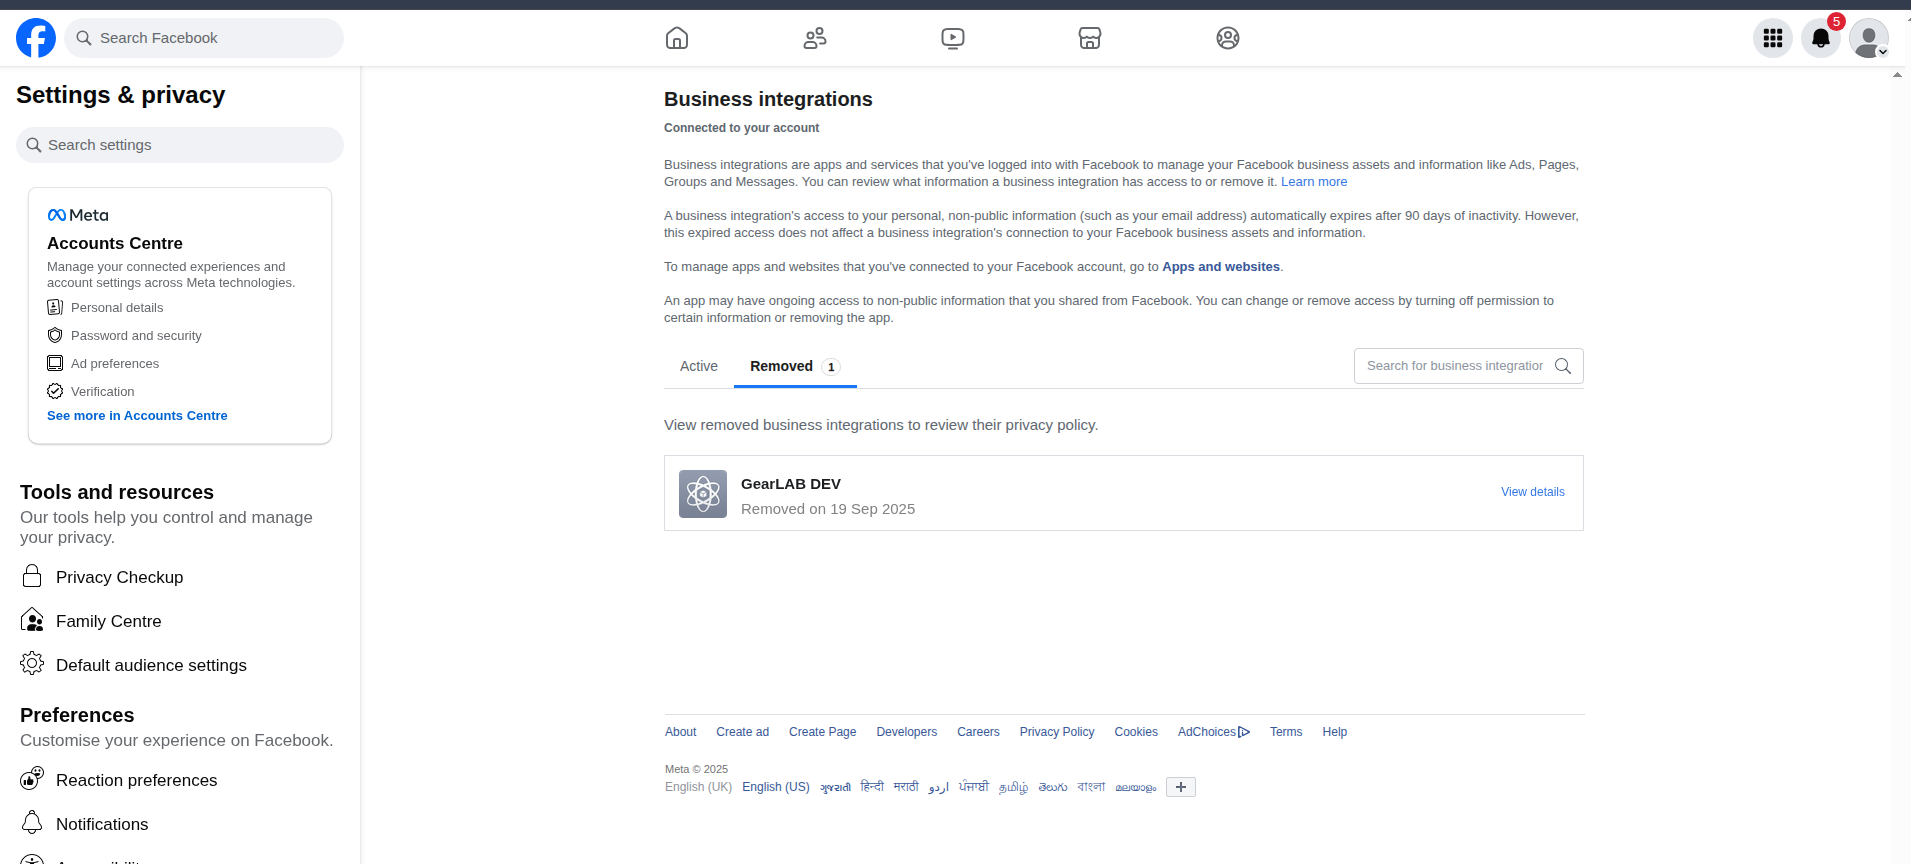
remove app tab in business integration
Step 5: Request Data Deletion from the App
- Select the removed app under the "Removed" tab.
- Click the "Send request" button to formally request deletion of any data the app stored during the connection.
- The status of your deletion request and a confirmation number will appear—you may use this for tracking or compliance records.
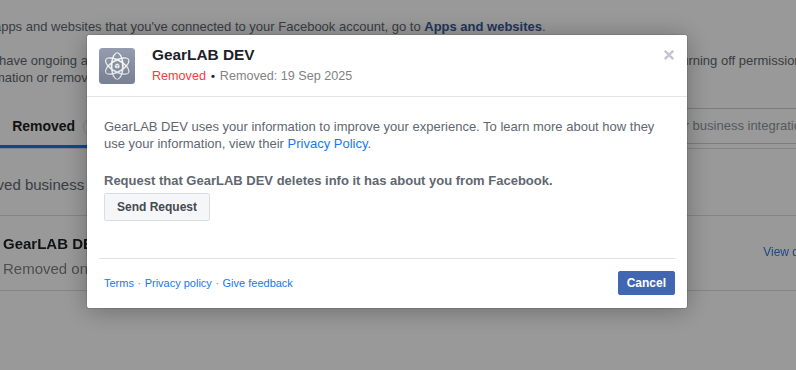
Deletion request for connected app
Step 6: Behind the Scenes (How We Process Your Request)
- When a deletion request is sent, Facebook triggers our backend API endpoint (
api/facebook/delete/callback/) and passes a signed request. - Our backend verifies this signed request, parses the Facebook user ID, and deletes all associated user data from our system based on this ID.
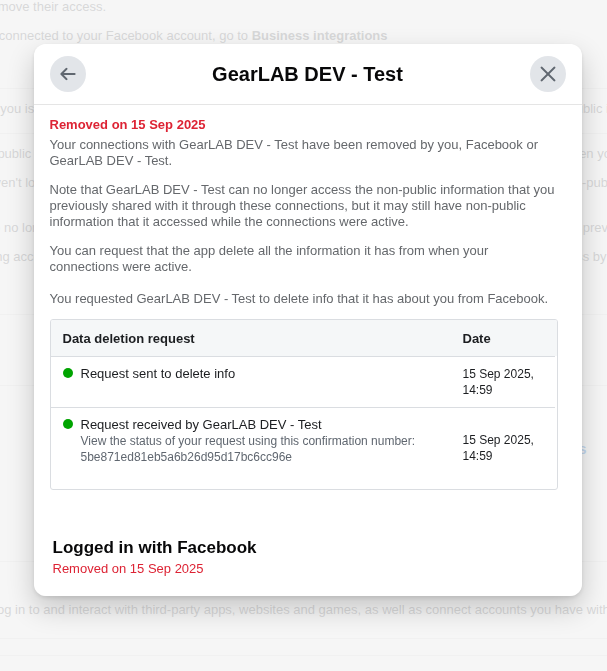
Data Deletion process
These steps guide users to fully disconnect the app and request personal data deletion through the Facebook platform, ensuring compliance with Facebook’s data privacy requirements.